How To Properly Install Roof Hvac

Upgrading Your Hvac System And Placing It On The Roof S3da Design In 2020 Hvac System Roof Hvac

If You Order Properly Sized Open Web Floor Trusses Your Hvac Contractor Should Have Enough Room To Ins Roof Truss Design Ductwork Installation Hvac Contractor

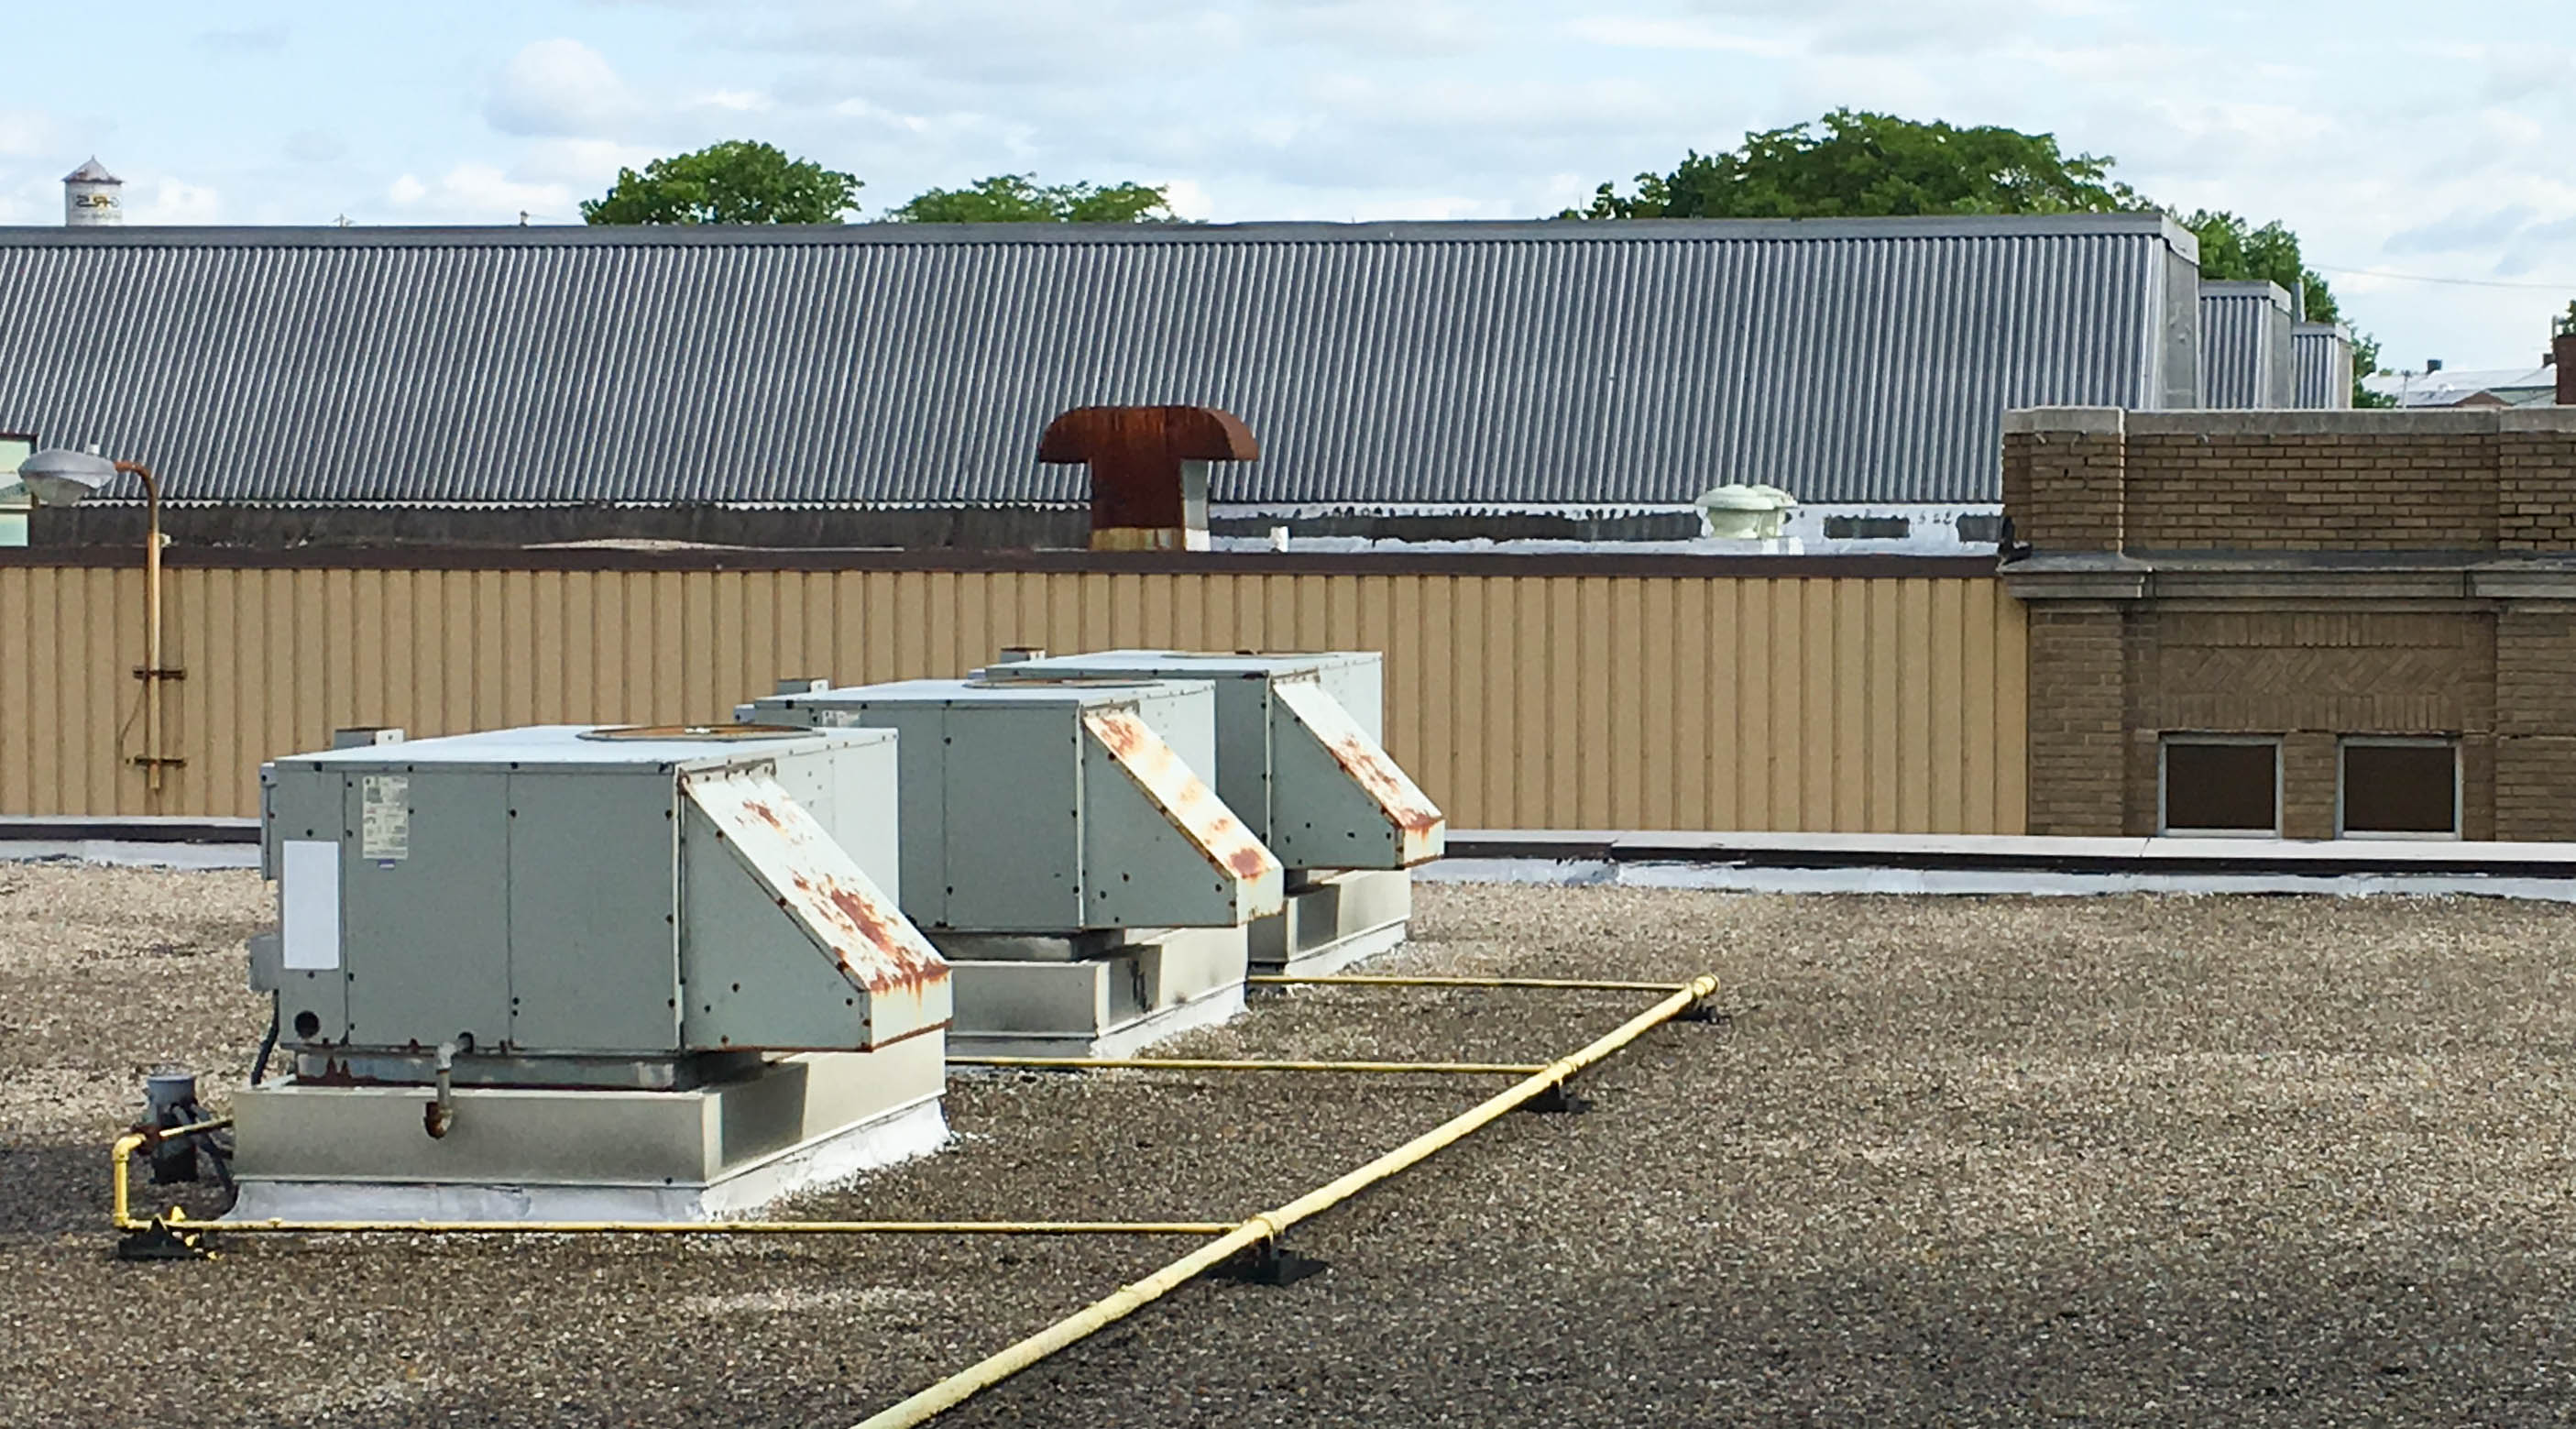
Do You Have A Commercial Rooftop Hvac Unit We Will Do A System Safety Inspection For 99 And Our Service Calls Are Heat Installation Hvac Services Hvac System
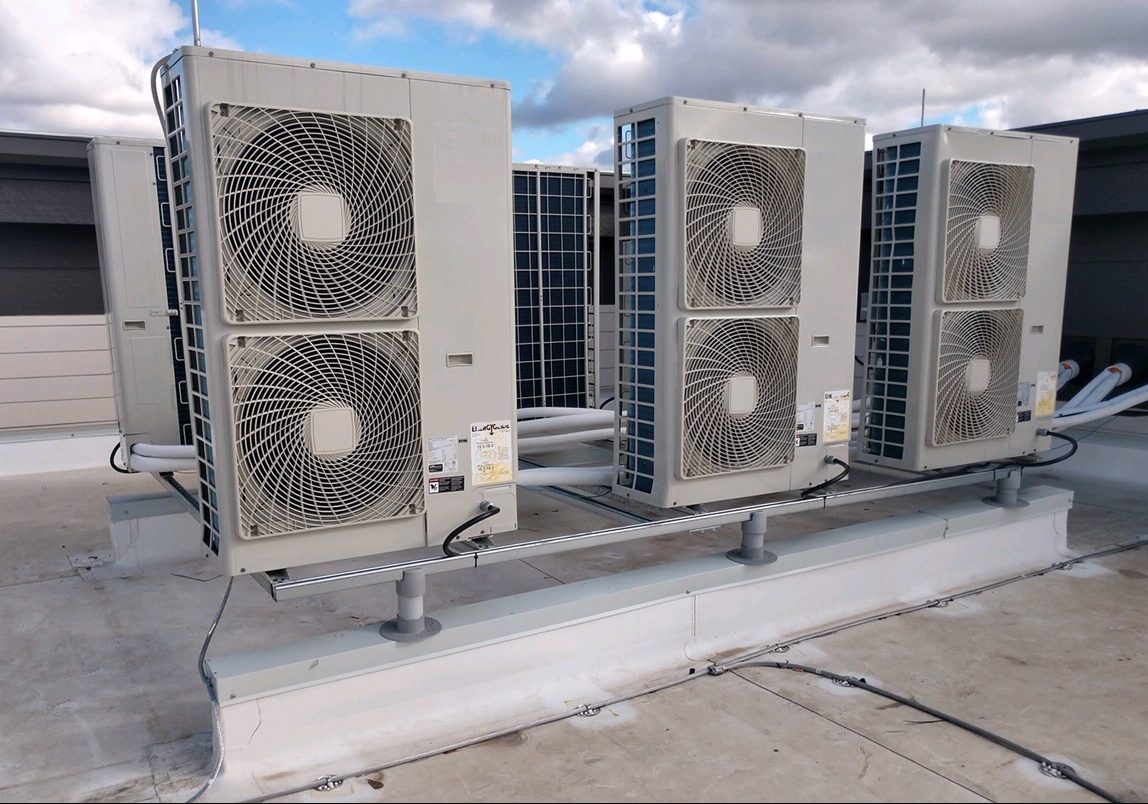
Correctly Placing Hvac Units On Commercial Rooftops Green Link Engineering

Hvac Sea Hvac Hacks Com Refrigeration And Air Conditioning Hvac Hacks Air Conditioning Installation

Mitsubishi Condenser Mounted On Roof With Brackets Ductless Heating And Cooling Ductless Heating Brick Decor
A successful rooftop hvac installation usually involves the collaboration of an entire team of workers so that issues related to the roof structures electrical and hvac can be discussed beforehand.
How to properly install roof hvac.

Why Do You Need Roof Top Air Conditioning Systems With Hvac System Hvac System Air Conditioning System Hvac
Protecting Hvac Units With Fall Protection Safety Blog

Pin By Ryan Wilson On Air Conditioning Specialist Commercial Hvac Refrigeration And Air Conditioning Residential Air Conditioning

Read This Before You Install Central Air Conditioning Central Air Installation Central Air Conditioning Central Air
Source : pinterest.com
