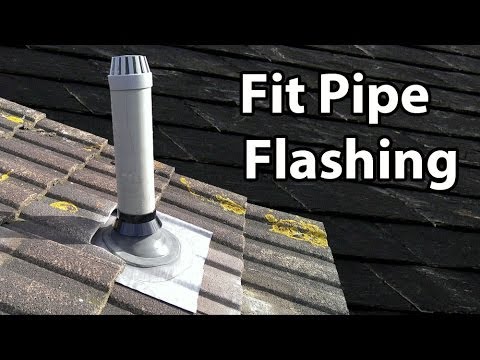
How to retrofit the ultimate pipe flashing on an existing roof.
How to replace pipe flashing on existing roof.
Slide the new flashing over the vent pipe and under the shingles above the pipe.
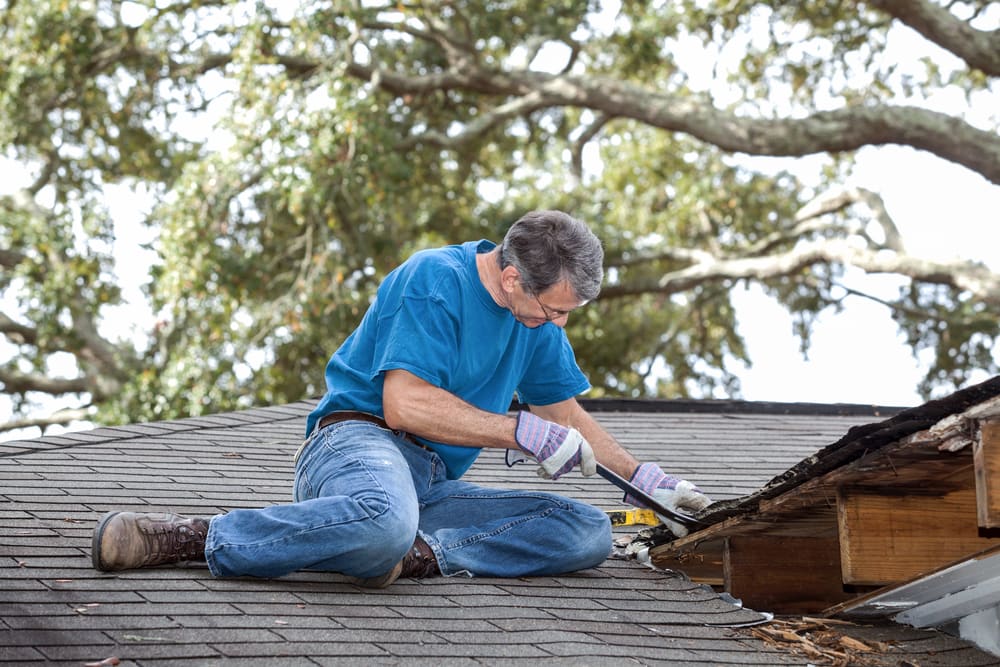
Pry back the shingles that are above and on both sides of the vent pipe using a pry bar.
Before the flashing is pressed down to the surface of the roof you want to apply a bead of silicon on the shingles about an inch in from the edges.
Center the pipe in the flashing and push the flexible front corners up or down so that the flashing pipe is parallel to the vent pipe.
When a roof leaks the problem is often due to leaks in and around the metal roof flashing that protects roof edges valleys and the junctions between roofing and obstructions such as chimneys dormers and vent pipes.
You don t need to bend back the shingle that s beneath the pipe.
Expert advice on how to repair roof flashing and chimney flashing prevent ice dams and solve other roof flashing problems.
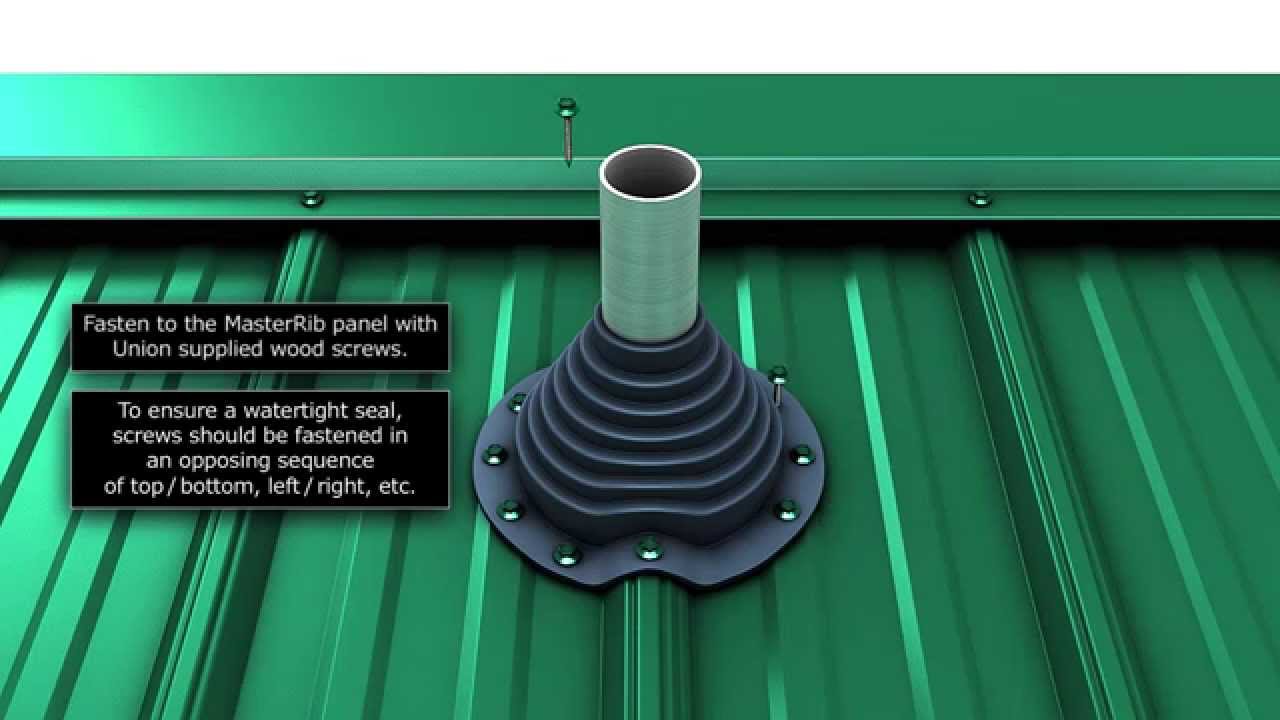
Penetration flashing plumbing vent pipes that extend through the roof come with metal flashing or rubber boot type flashing to seal the penetrations.
Then nail the new l shaped flashing under the builder s felt but above the fascia board.
1 remove nails holding down shingles above the pip.
The flashing is nailed to the roof and it is critical that the nail placement is proper or it will result in leaks.
Use roofing nails to install the l shaped flashing flush with the roof and wall then cover it with roofing cement and reattach the roofer s felt.
In fact after diagnosing roofing leaks for 15 years i can tell you that roofs rarely leak in the field of the shingles 90 of the time they leak where the roof stops starts or changes direction which means most of the time the problem is with a flashing.
Now press the aluminum flashing flush to the shingle surface.
Pull the old flashing up over the vent pipe and scrape any old caulk and debris off the roof.
You can bend them back by working a putty knife under the bottom of each tab and slipping it through the adhesive to break the seal.
Re roofing around an existing service head.
This gizmo costs more than the cheap ones but works well and should never leak since such a great design.
Replace all rubber boots and replace metal.